


artl fadeler (if-else if-else) – Robo90 Arduino Dersleri #12
Introduction
When it comes to displaying grades, creating a program that can automate the process can be quite helpful. In this tutorial, we will learn how to utilize Arduino to display grades on a screen. We will use a simple program to demonstrate this process.
How to Use Arduino to Display Grades on a Screen
Setting Up the Code
First, let’s start by setting up the code. Create a new sketch in the Arduino IDE and copy the following code:
“`
Int grade = 85;
Void setup() {
Serial.begin(9600);
}
Void loop() {
Serial.print(“Grade: “);
Serial.println(grade);
Delay(1000);
}
“`
Explanation of the Code
In the code above, we initialize a variable called “grade” with a value of 85. We then set up the serial communication with a baud rate of 9600 in the setup function. In the loop function, we continuously print the value of the grade variable to the serial monitor.
Uploading the Code
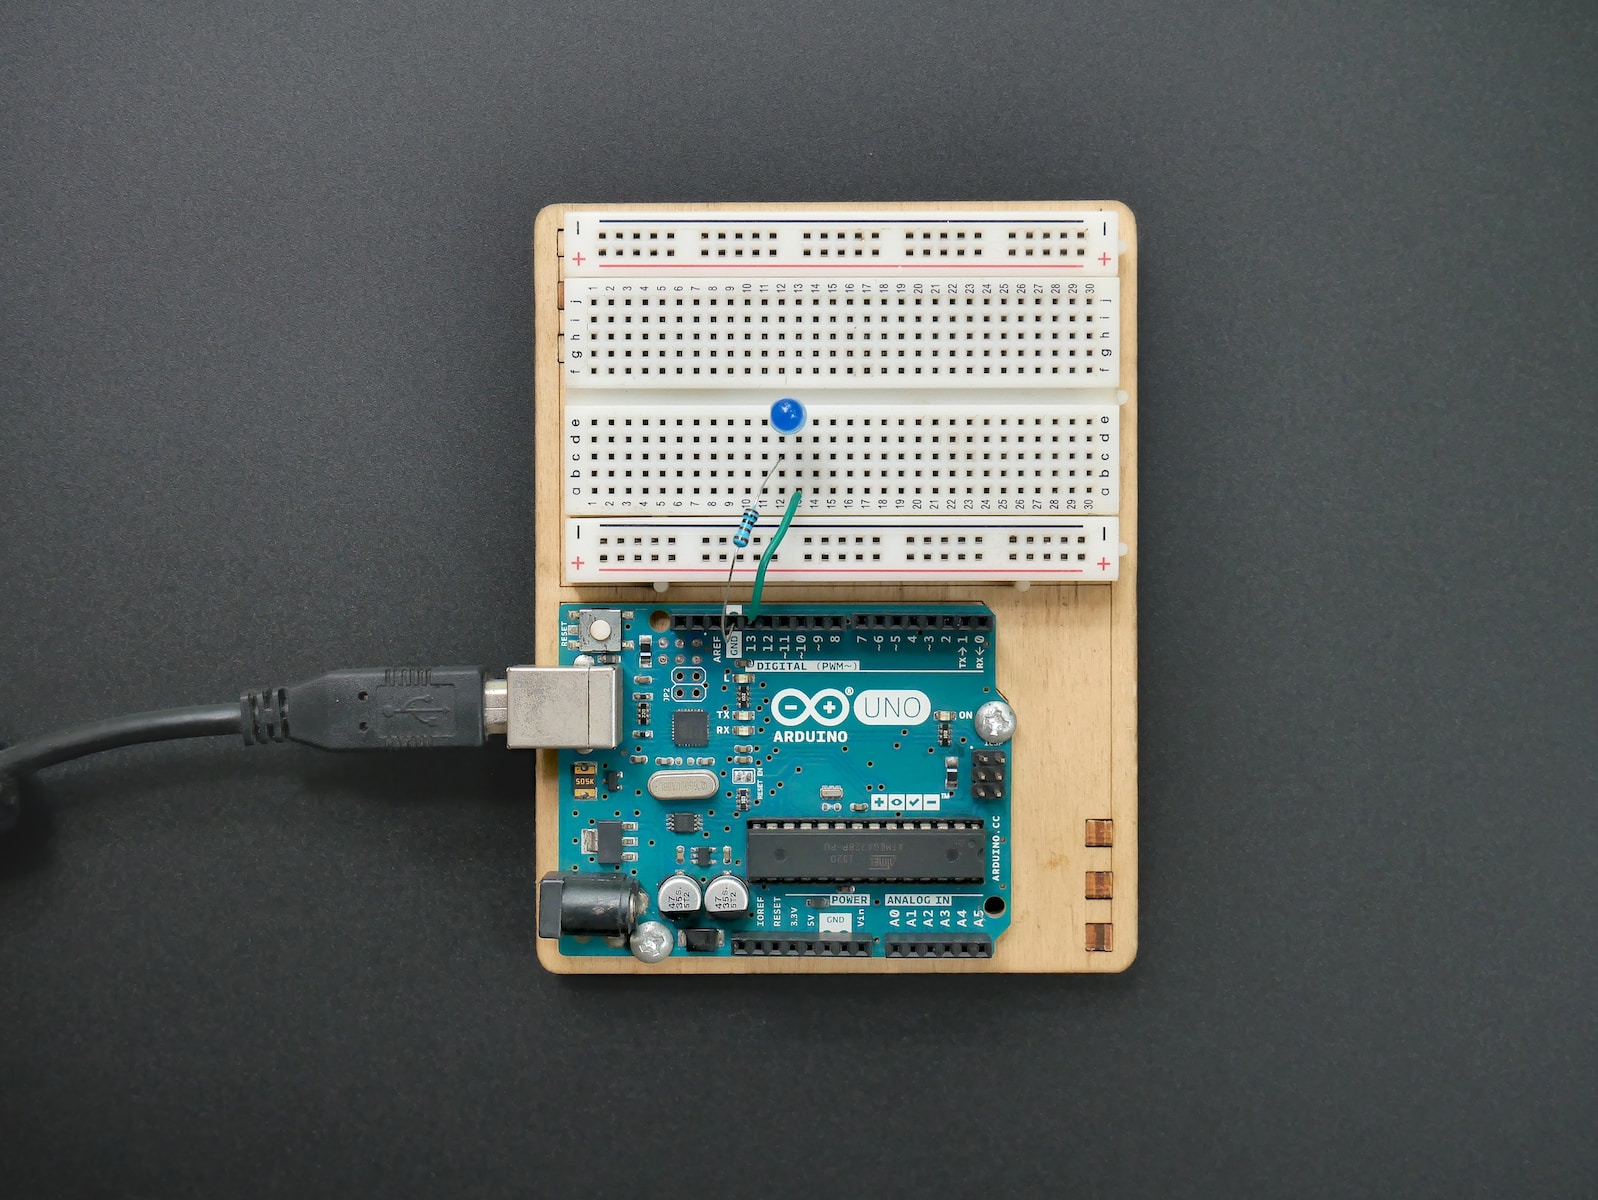
Next, we need to upload the code to the Arduino board. Connect your Arduino to your computer using a USB cable and select the correct board and port in the Arduino IDE. Then, click on the “Upload” button to upload the code to the Arduino board.
Testing the Code
After uploading the code, open the serial monitor by clicking on the magnifying glass icon on the top right corner of the Arduino IDE. Set the baud rate to 9600 and you should see the grade being displayed on the screen. The grade will be displayed as “Grade: 85”.
Modifying the Code
Now, let’s modify the code to display a different grade. Change the value of the grade variable to any number you desire. For example, let’s change it to 60:
“`
Int grade = 60;
“`
Upload the modified code to the Arduino board and open the serial monitor again. You should now see the grade being displayed as “Grade: 60”.
Adding Conditions
To add conditions to the code, we can use if statements. Let’s say we want to display different messages based on the grade. Modify the code as follows:
“`
Int grade = 60;
Void setup() {
Serial.begin(9600);
}
Void loop() {
If (grade >= 60) {
Serial.println(“You passed!”);
} else {
Serial.println(“You failed!”);
}
Delay(1000);
}
“`
Upload the code to the Arduino board and open the serial monitor. You should now see the message “You passed!” if the grade is equal to or greater than 60, and “You failed!” if the grade is less than 60.
Programming languages provide various control structures to enable developers to make decisions based on certain conditions. One of the most commonly used control structures is the if-else statement. In this article, we will explore the significance of using if-else statements in programming and discuss how they can enhance code readability and optimize processor usage.
The Basics of if-else Statements
An if-else statement allows the program to execute different blocks of code based on a specified condition. It is used to control the flow of execution and make decisions within the program. The general syntax of an if-else statement is as follows:
If(condition){
// code to be executed if the condition is true
}else{
// code to be executed if the condition is false
}
Advantages of Using if-else Statements
There are several advantages to using if-else statements in programming:
1. Improved Code Readability: By using if-else statements, developers can clearly express their intentions and logic in the code. It makes the code more readable and understandable for other developers who may need to work on it in the future.
2. Optimize Processor Usage: When using if-else statements, the processor’s resources are used efficiently. By implementing conditions and executing specific code blocks based on those conditions, unnecessary computations can be avoided, resulting in improved performance.
Using if-else Statements in Arduino
Let’s delve into a practical example of using if-else statements in Arduino programming. Imagine a scenario where we want to display a message on an LCD screen based on a student’s exam score. If the score is 60 or above, the message “Pass” should be displayed; otherwise, the message “Fail” should be displayed.
The code implementation for this scenario with if-else statements would look like this:
“`arduino
Int score = 60;
If(score >= 60){
Serial.println(“Pass”);
}else{
Serial.println(“Fail”);
}
“`
In this example, the if-else statement checks if the score is greater than or equal to 60. If the condition is true, “Pass” is printed on the LCD screen. Otherwise, “Fail” is printed.
The Importance of Arduino in Writing Code
Arduino is a powerful tool that allows users to write and execute code efficiently. It automates the process of closing parentheses and makes it easier for users to insert their own code. This article will discuss the importance of Arduino in writing code and how it can greatly benefit programmers.
Implementing Sine Function Using Arduino
One example of utilizing Arduino is by implementing the sine function. By using this function, you can easily generate values between 0 and 60, and assign different actions based on the value obtained. For example, values below 40 can result in retaking an exam, while values above 60 can allow students to proceed. Although there may not be a standard educational method based on this approach, it serves as a valuable example to showcase Arduino’s capabilities in coding.
Utilizing Conditional Statements
Arduino’s ability to control variables and evaluate conditions is another valuable feature. By implementing the “elsif” method, it becomes possible to assign multiple conditions and execute different actions based on those conditions. For instance, if the value is greater than 40, simply proceed to the next step. If the value is below 40, provide a message stating that the student can retake the exam. This method offers flexibility in coding and allows for a more efficient process.
Testing Different Scenarios
To further illustrate how Arduino can be utilized, let’s consider a scenario where the grade is 85. By inputting this value into the code, the program will automatically recognize it and display the message “You can proceed to the next step.” Similarly, if the grade is 39, the program will display the message “You can retake the exam.” It is essential to test various scenarios to ensure that the code functions as desired.
Common Errors and Recommendations
While Arduino offers a seamless coding experience, it is not exempt from errors. One common error to be aware of is the tendency to overlook the importance of parentheses in conditional statements. It is essential to double-check the code and ensure that all opening and closing parentheses are correctly placed. Additionally, proper indentation and organization of the code can greatly contribute to its readability and avoid potential errors.
In this tutorial, we learned how to use Arduino to display grades on a screen. We covered the basics of setting up the code, modifying it to display different grades, and adding conditions to display different messages based on the grade. Arduino can be a valuable tool for automating processes and displaying data in a simple and efficient manner.
In programming, if-else statements play a crucial role in decision making and controlling the program flow. They improve code readability and optimize processor usage, resulting in efficient execution. By understanding and utilizing if-else statements effectively, developers can create more efficient and robust programs. So, make sure to incorporate if-else statements in your coding practices for enhanced control and efficiency.
Arduino provides programmers with an efficient and user-friendly platform for coding. With features like automated parentheses closing and conditional statements, it makes the coding process easier and more manageable. While errors may occur, being mindful of proper syntax and testing different scenarios can help overcome these challenges. Incorporating Arduino into coding practices can greatly enhance productivity and code execution.


